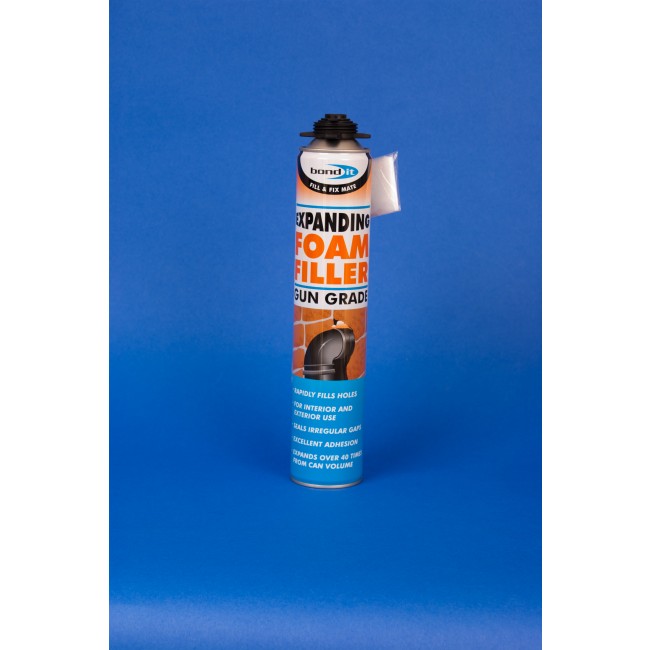
Where and How to Use Expanding Foam
This entry was posted on Jul 21, 2015 by Richard FoulkesExpanding foam is a godsend for DIYers and builders alike. It can be used for a wide range of applications and is incredibly simple to use. If you’ve never used expanding foam before then here is a simple walkthrough to make it as easy as possible.
When to Use Expanding Foam
There are many uses for expanding foam, the most common of which include:
> Filling gaps between rigid sheets of insulation to prevent draughts
> Fitting new windows
> Filling holes in walls – typically where pipes once where
> Insulating small spaces that are hard to reach.
There are two types of expanding foam: open cell and closed cell. Typically, closed cell foam has more resistance to moisture, as it is stronger and denser, making it a much better insulator than open cell.
Before you do anything, it is worth noting that there can be issues with expanding foam as it can expand faster than people may expect. They can also generate a large force when expanding and solidifying, which can damage the surrounding area if it is used in an enclosed space.
How to Use Expanding Foam
If you are sure that expanding foam is correct for your purposes then knowing how to use it is essential. This quick guide will run you through the basics in order to give you a sufficient understanding of the process.
Step 1: Clean the area, removing any debris, dust and grease to ensure that there will be no contaminants or bits that will come off when you apply expanding foam.
Step 2: Read the instructions on the expanding foam. It doesn’t matter if you’ve done this before or not, things can change across brands, or over time, so it is important to know what you’re working with.
Step 3: Put on disposable gloves – you do not want to get expanding foam on you as it can burn and will stick to skin if it gets in contact with it. You should also put down a dust sheet, paper roll or newspaper in the surrounding area as this foam can be extremely difficult to remove.
Step 4: Prepare the can by removing the top and screwing in the applicator nozzle onto the valve – make sure you don’t use too much force as this could split the valve and create issues with the application. You should also use water to moisten the area that is going to be filled in order for it to bond as well as possible.
Step 5: Shake the can well and then inset the nozzle into the hole you wish to fill – hold the can upside down for the best application and start filling from the lowest point of the gap and work upwards. Apply the expanding foam slowly to prevent it from getting out of control and going where it isn’t needed.
Step 6: If you feel as though the foam isn’t expanding properly as you are applying it then you can optimise the expansion by wetting it with a fine mist. If you feel as though the can is losing pressure, then stop and give it a shake in order to increase the flow of foam.
Step 7: Leave the foam to set, this will take between 30 minutes and 12 hours depending on the amount of foam you used.
Step 8: Once the foam has dried you will be able to cut and sand it down to be flush with the wall. Be careful if you need to cut around pipes as you don’t want to damage the pipe. If the foam is in an area where it is exposed to sunlight then you should cover it in order to stop it from cracking.
If you’re embarking on any other DIY project, browse our range of products. If you find the same product anywhere else for less, we’ll refund the difference.