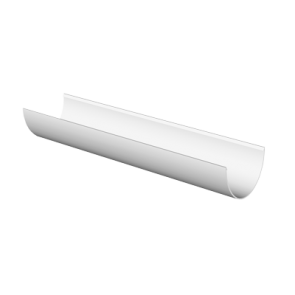
How to Fit Guttering in Eight Simple Steps
This entry was posted on Oct 21, 2013 by speedy-bedWhatever your level of DIY expertise, we have created this clear and concise guide which will take you through the process step by step.
Step 1
The first step is to fit the section of guttering which includes the outlet section. This will join up with the downpipe, so in terms of its positioning it is essential this is fitted first. Position it directly over the ground-level drain.
Step 2
 Fit a gutter bracket at one end of the run of guttering near to the top of the fascia board. If you have a stop-end outlet, the bracket should be fitted at the opposite end. At the base of the bracket you should tie a builder’s line or piece of string.
Step 3
It is essential the gutter outlet is positioned accurately. To do so, hold a plumb line plush to the fascia and directly over the drain. When you have found the position, mark with a pencil. The gutter outlet should be fitted no more than 5cms below the level of the roof tiles.
Step 4
Stretch the builder’s line or string which you have tied to the bracket along the length of the fascia and secure it by tying it to the outlet. Check that the string slopes gently towards the outlet; a 1cm decline for 6metres of guttering is sufficient and will ensure efficient drainage.
Step 5
Space the rest of the brackets with a one metre gap between each and mark their position. They should also be no more than 150mm between any joint or fitting. If the position of the outlet is in the middle of the gutter, make sure you repeat the process with a bracket at the other end of the guttering ensuring it slopes towards the outlet.
Step 6
Fit the other brackets.
Step 7
Before you clip the first length of guttering into position on the brackets, fit a stop-end. This can be easily achieved by tilting the guttering and fitting the stop-end under the back clip and then straightening it under the front clip.
Step 8
You’re nearly there. The final stage of the process is to fit a union piece to the other end of the first length of the guttering and attach it to the fascia using a screw. Then fix the next length of guttering to the union piece and continue in this vein. When it comes to fitting the last section, cut it to size with a hacksaw and fit a stop-end.
And there you have it, new guttering. Surprisingly easy wasn’t it?
If you are still struggling with how to fit guttering, give our friendly team a call at Speedy Plastics and Resins on 0844 8586 670 and they’ll be more than happy to help.

