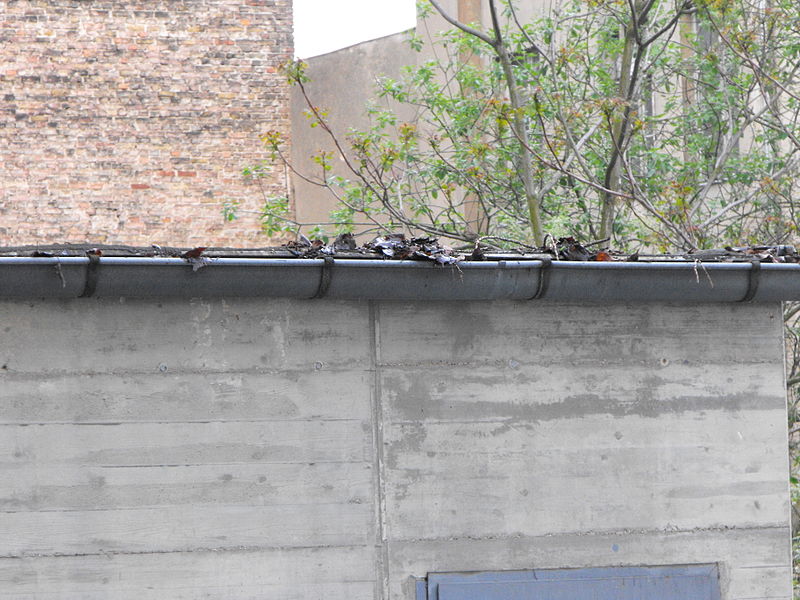
How to Fit Guttering to a Shed
This entry was posted on Oct 15, 2013 by Tom McAteerMaking sure that your shed is properly waterproofed is important, which is why you should take extra measures, like guttering, to direct water away. Directing water away from your shed can stave off rot and other related nastiness, as well as providing an avenue for you to recycle rainwater. Fitting guttering to your shed is a relatively straightforward task that anyone with basic DIY skills can take on, especially with Speedy Plastics’ range of DIY goods.
To guide you through this process, here’s our handy guide to installing guttering on a shed:
Step 1: The fixing location should be on the side of the shed, just below where the roof finishes. If you do not want to install the guttering directly onto the shed then you may wish to install a small fascia board or plank of wood.
Step 2: Before you start anything, ensure your shed is flat. Dust off your spirit level to measure the flatness (or lack thereof) of your shed which will, roughly-speaking, determine the volatility of your guttering angles, so make sure this is accurate. If it isn't flat, then you simply need to change the angle at which you plan to place the guttering on the shed accordingly.
Step 3: Following these precautionary steps, measure out where you need the guttering to sit, using a measuring tape and spirit level, then mark this out with a string to ensure that you install it correctly. Remember to tilt it slightly towards where you plan on installing the downpipe.
Step 4: If required, cut the gutter material down to the length of the shed using a hacksaw with a fine blade. Do this for every section of guttering, taking care to factor in the length of joints and downspout to your calculations before cutting.
Step 5: At this stage attaching all the joints for each side can be much easier than fitting while installing. Connect the downspout, end cap and joints to the guttering. Most guttering types simply click together, but you may need to use a silicon adhesive, so read the instructions to find out how they join.
Step 6: Now it’s time to drill the holes and install the brackets needed to hold the guttering. Generally, a 6x4 shed will require you to fit a bracket in the middle while the other two support brackets should be placed roughly 20cm from each end. If the guttering is moving downwards, then accomodate this with the bracket. For example, if you plan on recycling rainwater, then work from the end furthest from your water tank and place each subsequent bracket 5mm lower.
For larger sheds, follow the rule that each bracket should be put in every meter or so. Depending on the size of your shed, you will probably only require two or three per side. These brackets should be secured using two 1” screws and the gutter itself will simply ‘snap’ into place.
Step 7: When the brackets are in place, simply clip your guttering into the sections and join all the lengths together. Most brackets will snap under the gutter’s front lip with the back edge sliding over the rear side of the gutter. Double-check it's seated properly before moving on.
Step 8: Attach the downspout to the socket joint at the top and connect the length of pipe required to reach the bottom of the shed with the shoe to send water into a drain or waterbutt. When all the pipes are in place, fit the clips needed to secure the pipe by screwing it into the wall.
Step 9: If you don't have a water tank or water butt, then you can skip this step. For those who want to use rainwater, mount your waterbutt below the end of the downpipe. Cut a 6ft pipe to the appropriate length, then insert one half into the downpipe, ensuring the water butt is flush against the shed. Measure and attach how much pipe you need, before securing the end with an offset bend joint. Affix the joint, then shove the pipe into a hole in the waterbutt, securing with pipe brackets around problem areas.
Test all of this before the next downpour. If there are any leaks, find out where they are. Assuming the guttering was attached in a logical fashion, then you should be able to trace at which point the installation went adrift.
That’s all there is to it, seven simple steps to install guttering on your shed. At Speedy Plastics we have all the materials you need for this project, check out our range of guttering and roofing resin online today. With lots of different colours and sizes available, you’re sure to find what you want.
If you’re embarking on any other DIY project, browse our range of products. If you find the same product anywhere else for less, we’ll refund the difference.