How to Install PVC Ceiling Panels
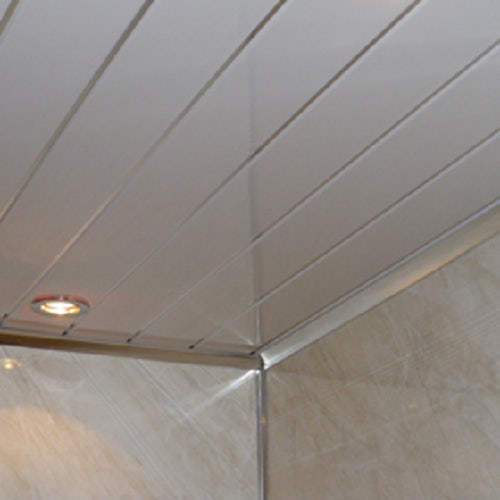
This entry was posted on Jan 17, 2014 by Tom McAteerDoes your bathroom or shower room ceiling need updating? How about fitting PVC Ceiling Panels? This perfect alternative to artexing or plastering creates an attractive bright ceiling that’s easy to clean, mould free and 100% waterproof. Produced in white with a built-in silver strip these panels are 2.7mtr long x 200mm wide x 5mm thick so covering your ceiling space takes no time at all!
Advantages
PVC ceiling panels and plastic cladding carry with them a number of unique advantages, including the aforementioned ease-of-cleaning, waterproof properties and protection against mould. Other advantages include the lack of painting required, their adaptability around suspended ceilings, the panels compatibility with downlights and, finally, easy installation!
No Training Needed
No specialist training is needed to fit our ceiling panels so DIYers will love them. The cladding can be fitted directly onto plasterboard or plastered ceiling, as long as it is flat and damage free. The PVC panels can then be fitted in a number of ways, largely dependent on preferences. To start, you’ll need to ideally use batten sized 45mm x 21mm fixed with a suitable wall fixing positioning them every 300 to 400mm running in the opposite direction to the PVC panels.
Starting at the one end of your ceiling with the preferred end moulding then working from that end with the first panel, attach the panel into a trim by using panel pins/nails, adhesive or suitable size screws and fix through the extending backplate fixing tongue. Then continue on with the other panels offering the tongue of each one into the groove of the previous panel and screwing or nailing each one into the batten behind.

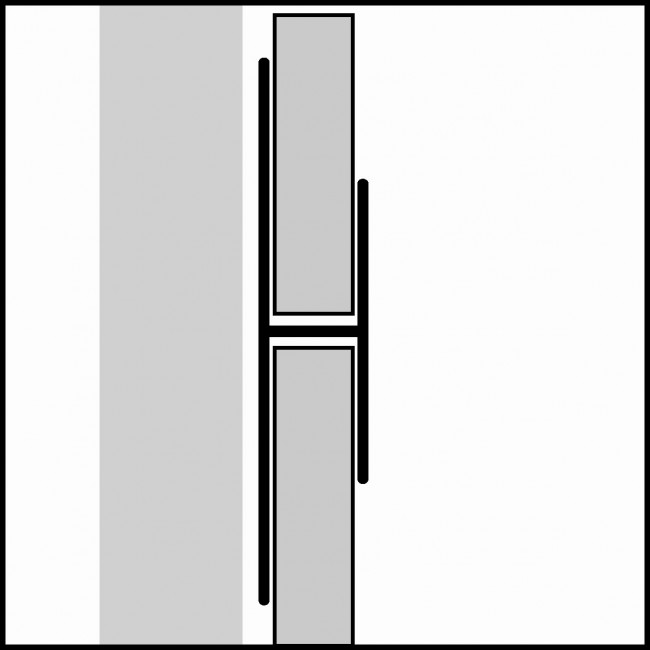
Finding out how to slip the panels into place is easy, as long as you're aware where the tongue and groove of the panels are. Ensure the tongue is facing the wall and push it fully into the trim, then secure it further with screws through the top groove.
To finish off you can use the appropriate joint trims and moulding trims, which will tidy up all corners and ends. In terms of trimming, be sure to fit the trim all around the edges of the room, again securing with screws into roof joints.
Following that, continue adding lengths of cladding until the screws are hidden. Simply push the new PVC ceiling panel into the groove. Continue this until the entire ceiling is covered, sans the last length.
There are multiple ways to fit this tricky last length, including using adhesive and cutting the ceiling panels. Measure the gap, mark its width on the panel, then carefully saw to the appropriate size. Speedy Plastics recommend using this method with a strong adhesive for a sharp, clean finish.
For more help check out the Fixing guides by clicking on the green box on the right-hand side of our Home page.
For further information on how to install PVC ceiling panels, please do not hesitate to contact Speedy Plastics and Resins on local number (0844) 8586670, and our team will be delighted to help.
For any other plastic fitting needs and requirements, browse our home product page. If you find the same product anywhere else for less, we’ll refund the difference.

